Our Electrical System
DISCLAIMER:
Keep in mind that this information is only intended for study/reference. You should be making all decisions and calculations for your project based on your specific needs. Also, I am not a professional, so don't just take my word for it. Do your own research and use common sense. There’s tons of good (and bad) information out there, so use your best judgement when deciding what’s going to work best for your specific situation. If in doubt, there is nothing wrong with consulting a professional. This is not rocket science, but a system that is designed/installed improperly could potentially lead to a dangerous situation.
House Batteries
The house batteries are auxiliary to the actual van battery. An isolated house battery system allows us to run everything we need without risking overdrawing power from the starting battery. We can also expand this battery bank as large as needed to power all of our added appliances/electronics. For our van, we went with 2 Deep Cycle AGM batteries wired in parallel. Each battery has a 155Ah(amp hour) capacity, so this gives us a total of 310Ah between the two. AGM batteries however should not be discharged below 50% of their total capacity. Therefore we really only have about 155Ah of power to use from a full charge. We have found this to be plenty for us given our somewhat minimal power consumption.

Charging
When you put loads on your batteries (i.e. lights, fans, a fridge, etc.) you must have a way to efficiently replenish them. Having multiple ways to charge up is crucial for anyone trying to live off-grid, especially when traveling. The conditions under which you are charging can vary greatly depending on your location, the weather, your vehicles position, and other specific factors. We actually have three ways to charge our house batteries and keep them topped off:
Solar Power
This is our primary source of charge. We have a 400watt solar array on our roof giving us ample power to the batteries throughout the daylight hours. There are 4-100w panels wired in series that run through a solar charge controller to match our batteries charging profile. Most mornings before we start to get any charge from the sun, we find that our batteries are rarely below 90%.

Van Power
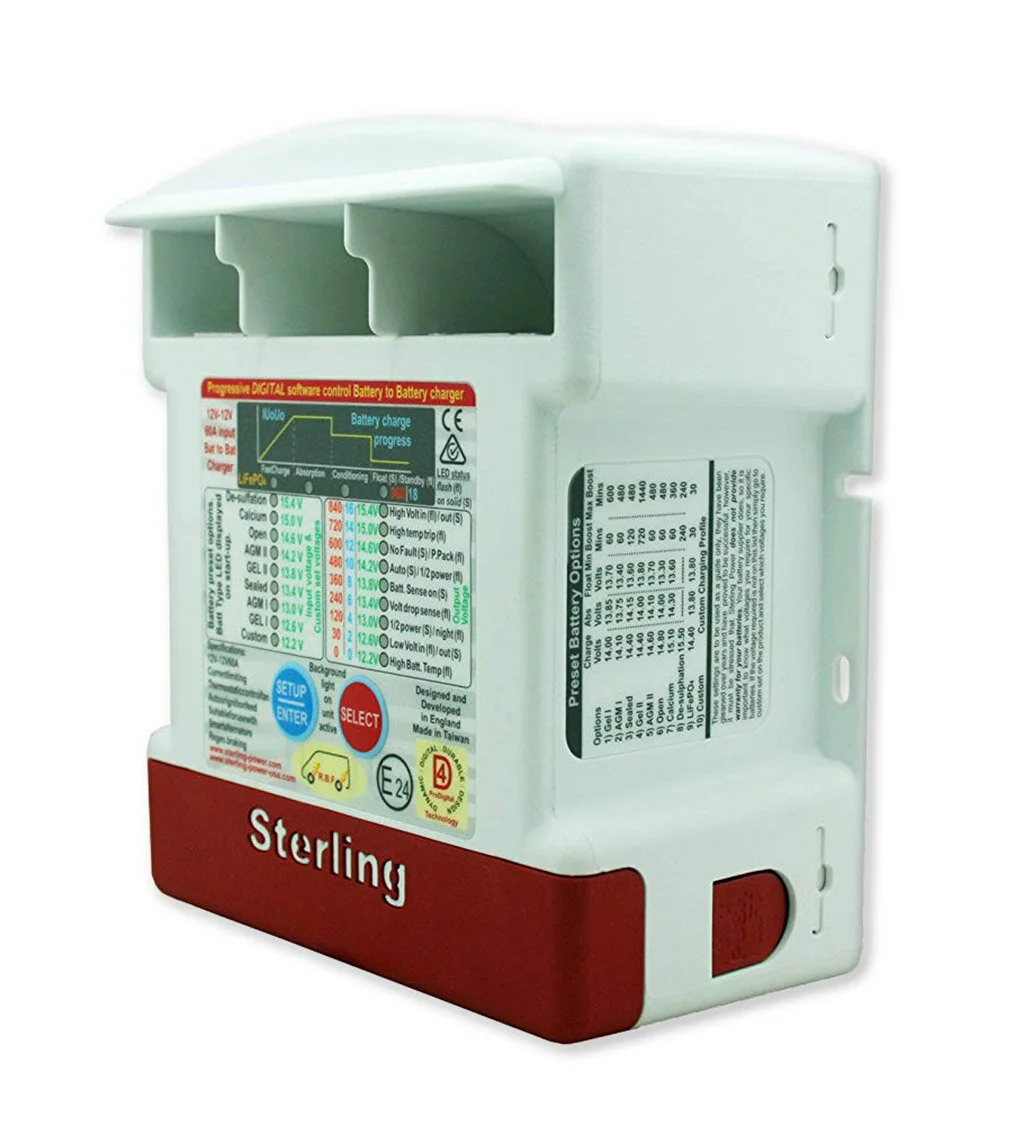
We also get a supplemental charge off of our van battery by way of the alternator while we are driving the van. In order to get a charge that fits the profile of our house batteries we installed a Sterling BB1260 Battery to Battery charger in between the connection from the van to the house batteries. Instead of just taking the charge that comes straight off the alternator, our charger will regulate the flow of power adding longevity to the most crucial piece of equipment in our electrical system. This will be much more useful when there is not as much sunshine. We plan to spend a good amount of time playing in the snow this winter!
Shore Power
Through the inverter that we installed, we can charge our system through a regular 110v power outlet or campsite hookup. The inverter has the capability to manipulate the flow of energy from AC at 110v to a DC charge that fits the profile of our batteries. This is actually a last resort for us as we are pretty autonomous with our other charging sources, but is a good option to have in a bind.

Drawing Energy: AC vs DC

The power that comes from energy stored in our batteries runs in a direct current (DC) to our system. The best way to run most of our power efficiently is through this DC current using a fuse block/distribution panel. We power most of our loads this way. You can see these in the list after this section. We also use 12v DC usb outlets to charge our phones and other small electronics. In order to run appliances that plug into a regular household outlet you must have an alternating current (AC). Thus the need for the power inverter. The particular one that we went with is pretty heavy duty. It is a 2000watt Pure Sine Wave Inverter. We have found this to be a good size for our needs. When drawing power through the inverter you generally only get about 85% efficiency, so you will be drawing more energy from your battery bank than if you were running through DC. Given that, we only run the inverter if we need to. We use the inverter to charge our camera batteries, laptops, and other larger accessories. The biggest appliance we use with our inverter is our Vitamix blender which we can run up to full power (~1800watts).
Our DC Loads

Nature’s Head Composting Toilet

MaxxFan Deluxe 7000K
Blue Sea Systems 12v Sockets

Vitrifrigo C115IXD4-F

Shurflo Revolution 3.0gpm Water Pump

Propex HS2000 Heater

Acegoo Recessed LED Ceiling Lights

Suburban Nautilus IW60 Tankless On-Demand Water Heater

Propane Solenoid

HitLights LED Strip Lights

Dometic Stainless Steel Drop-In Cooktop

Atwood CO/LPG Gas Detector
Wiring
DC wiring is essentially a closed loop coming off of your power source using a positive(red/+) and negative(black/-) wire. A switch wired in the circuit will open the loop to de-energize the circuit giving you the ability to control the power at the switch. We have all of our lighting on separate dimmer switches, as well as most of our appliances including our heater, water pump, water heater, and propane solenoid.
Wire sizing
It’s best to use stranded vs solid copper wire inside your vehicle due to its higher resistance to vibrations. In addition, try and keep your wiring runs to a minimum diameter of 16 AWG. Any less and the wires become brittle and prone to breakage/failure over time. Blue Sea Systems has a great online calculator to help you find the wire gauge required for your specific project. When making your calculations, you must take into account that the length of the positive wire as well as the negative, or return wire. For example, a 15ft wire run would be calculated as 30ft to include the return. Keep in mind that Its better to oversize your wire than to go too thin. Undersizing wires can cause resistance especially when considering voltage drop over a long run, and could be unsafe if you end up melting wires and shorting circuits which could lead to a dangerous situation.
Here is a list of the wire sizes we used for our DC components:
14 AWG - most of our loads
12 AWG - fridge, water pump, and 12v outlets
8 AWG - solar components, 12v distribution panel
4 AWG - alternator charger and system ground
2/0 AWG - battery and inverter connections
Fuses and Breakers
To protect the components and cables in your system, you should be adding breakers or fuses close to the connection. Generally speaking, you will want to size all of the fuses and breakers in your system about one size greater than the maximum normal draw. To find the amount of power drawn from a component you can use this equation: Watts / Volts = Amps. We can use our led strip lights for an example. As per the manufacturer, the lights draw 5.6 watts per foot. We have about 20 feet running below our cabinets. 5.6W/ft x 20ft = 112W. So given the 112W of power being drawn at max intensity we can figure the max amperage: 112W / 12V = 9.33A. So in this case we used a 15A fuse.
Ground
To protect from shorting our system and from electric shock, we grounded our house electrical system to our vehicle’s chassis. We ran a 4 AWG cable from our main negative bus bar to the front of the van next to the vehicle battery using the factory ground point between the driver and passenger seat. A lot of people just use the metal in the back of the van as it is closer to the system, but after some research I found that the metal in the van is actually not a very good conductor of electricity and it that it’s better to get your ground closer to the van battery. Also keep in mind that when wiring the components in your system, anything with a metal case should be grounded as well. In our system this includes our solar breaker box, solar charge controller, inverter and AC breaker box.
Wire Insulation and Protection
When running wires through the van, it is important to make sure you keep them protected. Any excessive heat, cold, moisture or vibration, as well as anything that could kink, rub or cut into your wires could cause some serious issues. While running insulated wires throughout your build could get pricey, it’s definitely worth the peace of mind knowing that you are well protected against electrical failure and a potentially bad situation. Ancor has some great products that are designed for marine applications, so you know they will perform under the harshest conditions. We used their insulated duplex cables for most of our wire runs. In addition to insulation, a major defender against sharp edges when running your wiring through the ribs and channels of your van’s walls is protecting them with split wire loom. It also makes for a clean install when bundling multiple cables. This feeder tool would have saved me a lot of headache. Definitely picking some up for future projects.
AC Power
In order to power your AC electronics, you have a couple options. You can run power from your inverter directly from the plug on the back and use extension cords/splitters as necessary. For our build we wanted something that was safe, would hold up over time and would keep our van feeling more like a home. We decided to install wall outlets. We don't usually have too much to plug in so we just have one above the kitchen counter and one in our seating area. These both run on their own circuits, each with a 20amp breaker wired directly to our inverter.
Propane Solenoid
Our cooktop, heater and water heater all run on propane. For safety and convenience, we have installed a solenoid to control the flow of propane coming from our tank. The solenoid is a closed valve that attaches directly to the propane line coming from the tank, just before the regulator. When the solenoid is energized, the valve is opened allowing the gas to flow through the closed system leading to our appliances. This allows us to leave the manual valve on the propane tank open and control the flow with the push of a button. In the event of a power failure, short, or other catastrophic event, the solenoid will de-energize and safely close the valve. We would definitely recommend installing one of these as an important safety feature in your system.